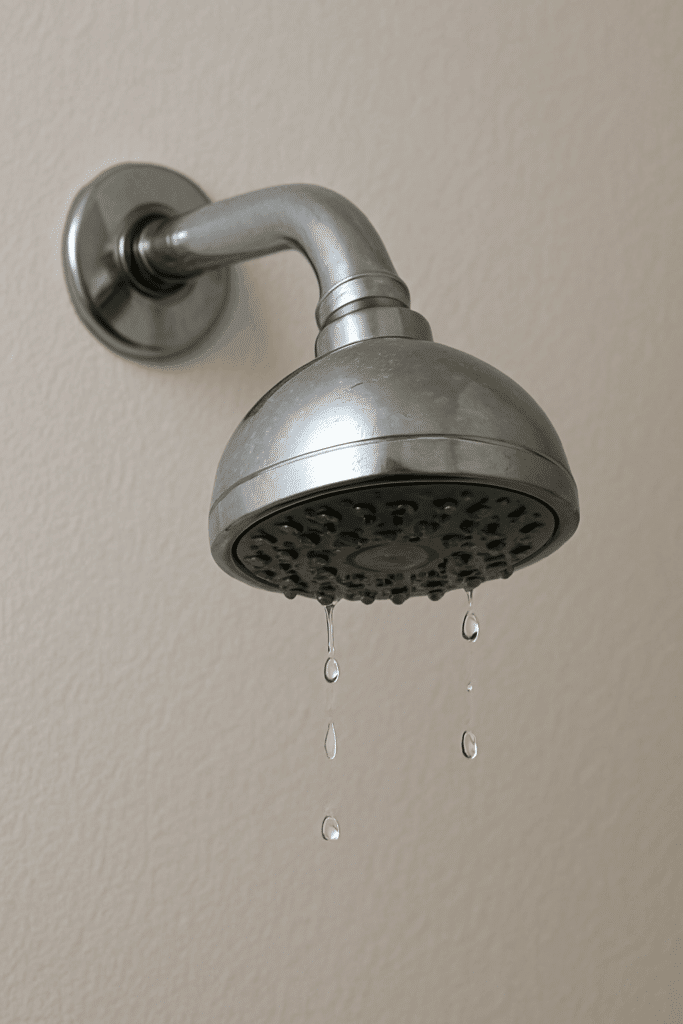
Few things are more annoying than a constant drip coming from your shower head. Not only does the sound wear on your nerves, but that steady stream of wasted water can also add up on your utility bill over time. Fortunately, fixing a dripping shower head is usually a straightforward project. With the right tools and know-how, you can stop the drip, save water, and get your bathroom back to normal.
At Miller’s Heating and Air Conditioning, we help homeowners with a wide range of plumbing and comfort concerns. Here’s a step-by-step guide to fixing a leaking shower head, plus tips on when it might be time to call in a professional.
Why Does a Shower Head Drip?
A dripping shower head is typically caused by one of three main issues:
- Worn-Out Washer or Seal: Rubber washers and O-rings inside the shower head wear down with use. Once they no longer form a tight seal, water seeps through.
- Mineral Buildup: If you have hard water, calcium and other minerals can collect inside the shower head or valve, preventing a proper shutoff.
- Faulty Valve or Cartridge: In some cases, the problem isn’t the shower head itself but the faucet valve or cartridge behind the handle. If these parts are damaged, water will continue to leak even after the handle is turned off.
How to Fix Your Dripping Shower Head
Here’s a step-by-step guide to help you fix your dripping shower head on your own.
1. Turn Off the Water Supply
Before doing any work, make sure you turn off the water supply to the shower. Some bathrooms have a shutoff valve nearby, but if yours doesn’t, you may need to shut off the main water supply to your home. This prevents messes and makes the repair safer.
2. Remove the Shower Head
Use a wrench or pliers to gently unscrew the shower head from the pipe. Wrap the pipe with a cloth before using tools to avoid scratches. Once removed, check the shower head for visible wear, cracks, or debris inside.
3. Inspect the Washer and O-Ring
Most shower heads contain a rubber washer or O-ring that helps seal the connection. Over time, these parts can harden, crack, or wear away. If yours looks damaged, replace it with a new one of the same size. These parts are inexpensive and available at any hardware store.
4. Clean Away Mineral Deposits
If the washer looks fine, the problem could be mineral buildup. Soak the shower head in a bowl of white vinegar for several hours (or overnight) to dissolve calcium deposits. For stubborn buildup, gently scrub with a toothbrush before rinsing thoroughly.
5. Reassemble and Reinstall
Once you’ve replaced the washer or cleaned the shower head, wrap the shower arm threads with plumber’s tape. This helps create a watertight seal and prevents leaks. Screw the shower head back into place securely, but avoid overtightening.
6. Test Your Repair
Turn the water supply back on and test the shower. If the dripping has stopped, you’ve successfully fixed the issue! If it continues, the problem may lie deeper within the faucet valve or cartridge.
When the Problem Is in the Valve
Sometimes, even after replacing washers and cleaning the shower head, the drip won’t stop. In this case, the issue may be with the shower’s valve or cartridge—the mechanism inside the wall that controls water flow. Fixing this often requires removing the handle, accessing the valve, and replacing the faulty cartridge.
While some handy homeowners attempt this repair, it can be more complex, especially in older plumbing systems. At this point, calling a professional plumber is often the fastest and most effective solution.
Why It’s Important to Fix a Dripping Shower Head
It’s tempting to ignore a small drip, but that’s never a good idea. Here’s why:
- Water Waste: A single dripping shower head can waste hundreds of gallons of water a year.
- Higher Bills: Even a slow leak can noticeably raise your monthly water bill.
- Damage Risk: Persistent leaks can cause hidden water damage around your shower or lead to mold growth.
- Worsening Issues: Ignoring a small drip today could lead to bigger plumbing problems tomorrow.
Addressing the issue early protects your home and saves money in the long run.
Preventing Future Drips
Once your shower head is fixed, a little preventative care can keep it working properly:
- Clean Regularly: Soak the shower head in vinegar every few months to prevent mineral buildup.
- Avoid Excessive Force: Turn the handle off firmly but gently. Over-tightening wears out the valve faster.
- Check Water Pressure: High water pressure can stress plumbing fixtures. If you suspect your water pressure is too high, have it tested.
Leave Your Shower Head Repair to a Pro
Fixing a dripping shower head is often as simple as replacing a washer or cleaning out mineral deposits, but sometimes the problem lies in the valve itself. Either way, taking action quickly is important for conserving water and avoiding costly repairs.
If your shower head won’t stop dripping—or you’d rather skip the hassle—trust the experts at Miller’s Heating and Air Conditioning. Our team can diagnose the issue, make lasting repairs, and ensure your plumbing fixtures are working their best. Reach out today to schedule your plumbing service.